Your thumbnail determines whether your video gets clicked or ignored. A weak thumbnail kills your video in the feed, no matter how good the content. This guide shows you how to make thumbnails using free tools, AI, or your phone.
TL;DR:
-
Size requirements:
1280×720 pixels, 16:9 aspect ratio, under 2MB (JPG, PNG, or GIF)
-
Best free tools:
Canva, Adobe Express, or an AI thumbnail maker for speed
-
Design rules:
3-5 words max, one focal point, readable on mobile
-
Bottom line:
Verify your account to upload custom thumbnails, then test what works for your niche.
Quick steps:
- Enable custom thumbnails (YouTube Studio → Settings → Channel → Feature eligibility). Complete verification if prompted.
- Open your thumbnail maker
- Add your background image or video screenshot
- Place your face and 3-5 words of text
- Add drop shadow to text for readability
- Download as JPG, PNG, or GIF (under 2MB)
- Upload in YouTube Studio > Content > Select video > Edit thumbnail
Note: If you see "Daily custom thumbnail limit reached," wait 24 hours and try again. Limits can vary by region and channel history.
Pre-upload checklist:
- Dimensions: 1280×720 pixels
- File size: Under 2MB
- Passes the stamp test: shrink to ~120px wide. If text isn't readable, simplify.
- Nothing critical in bottom-right (timestamp) or bottom edge (title)
- Accurately represents the video content
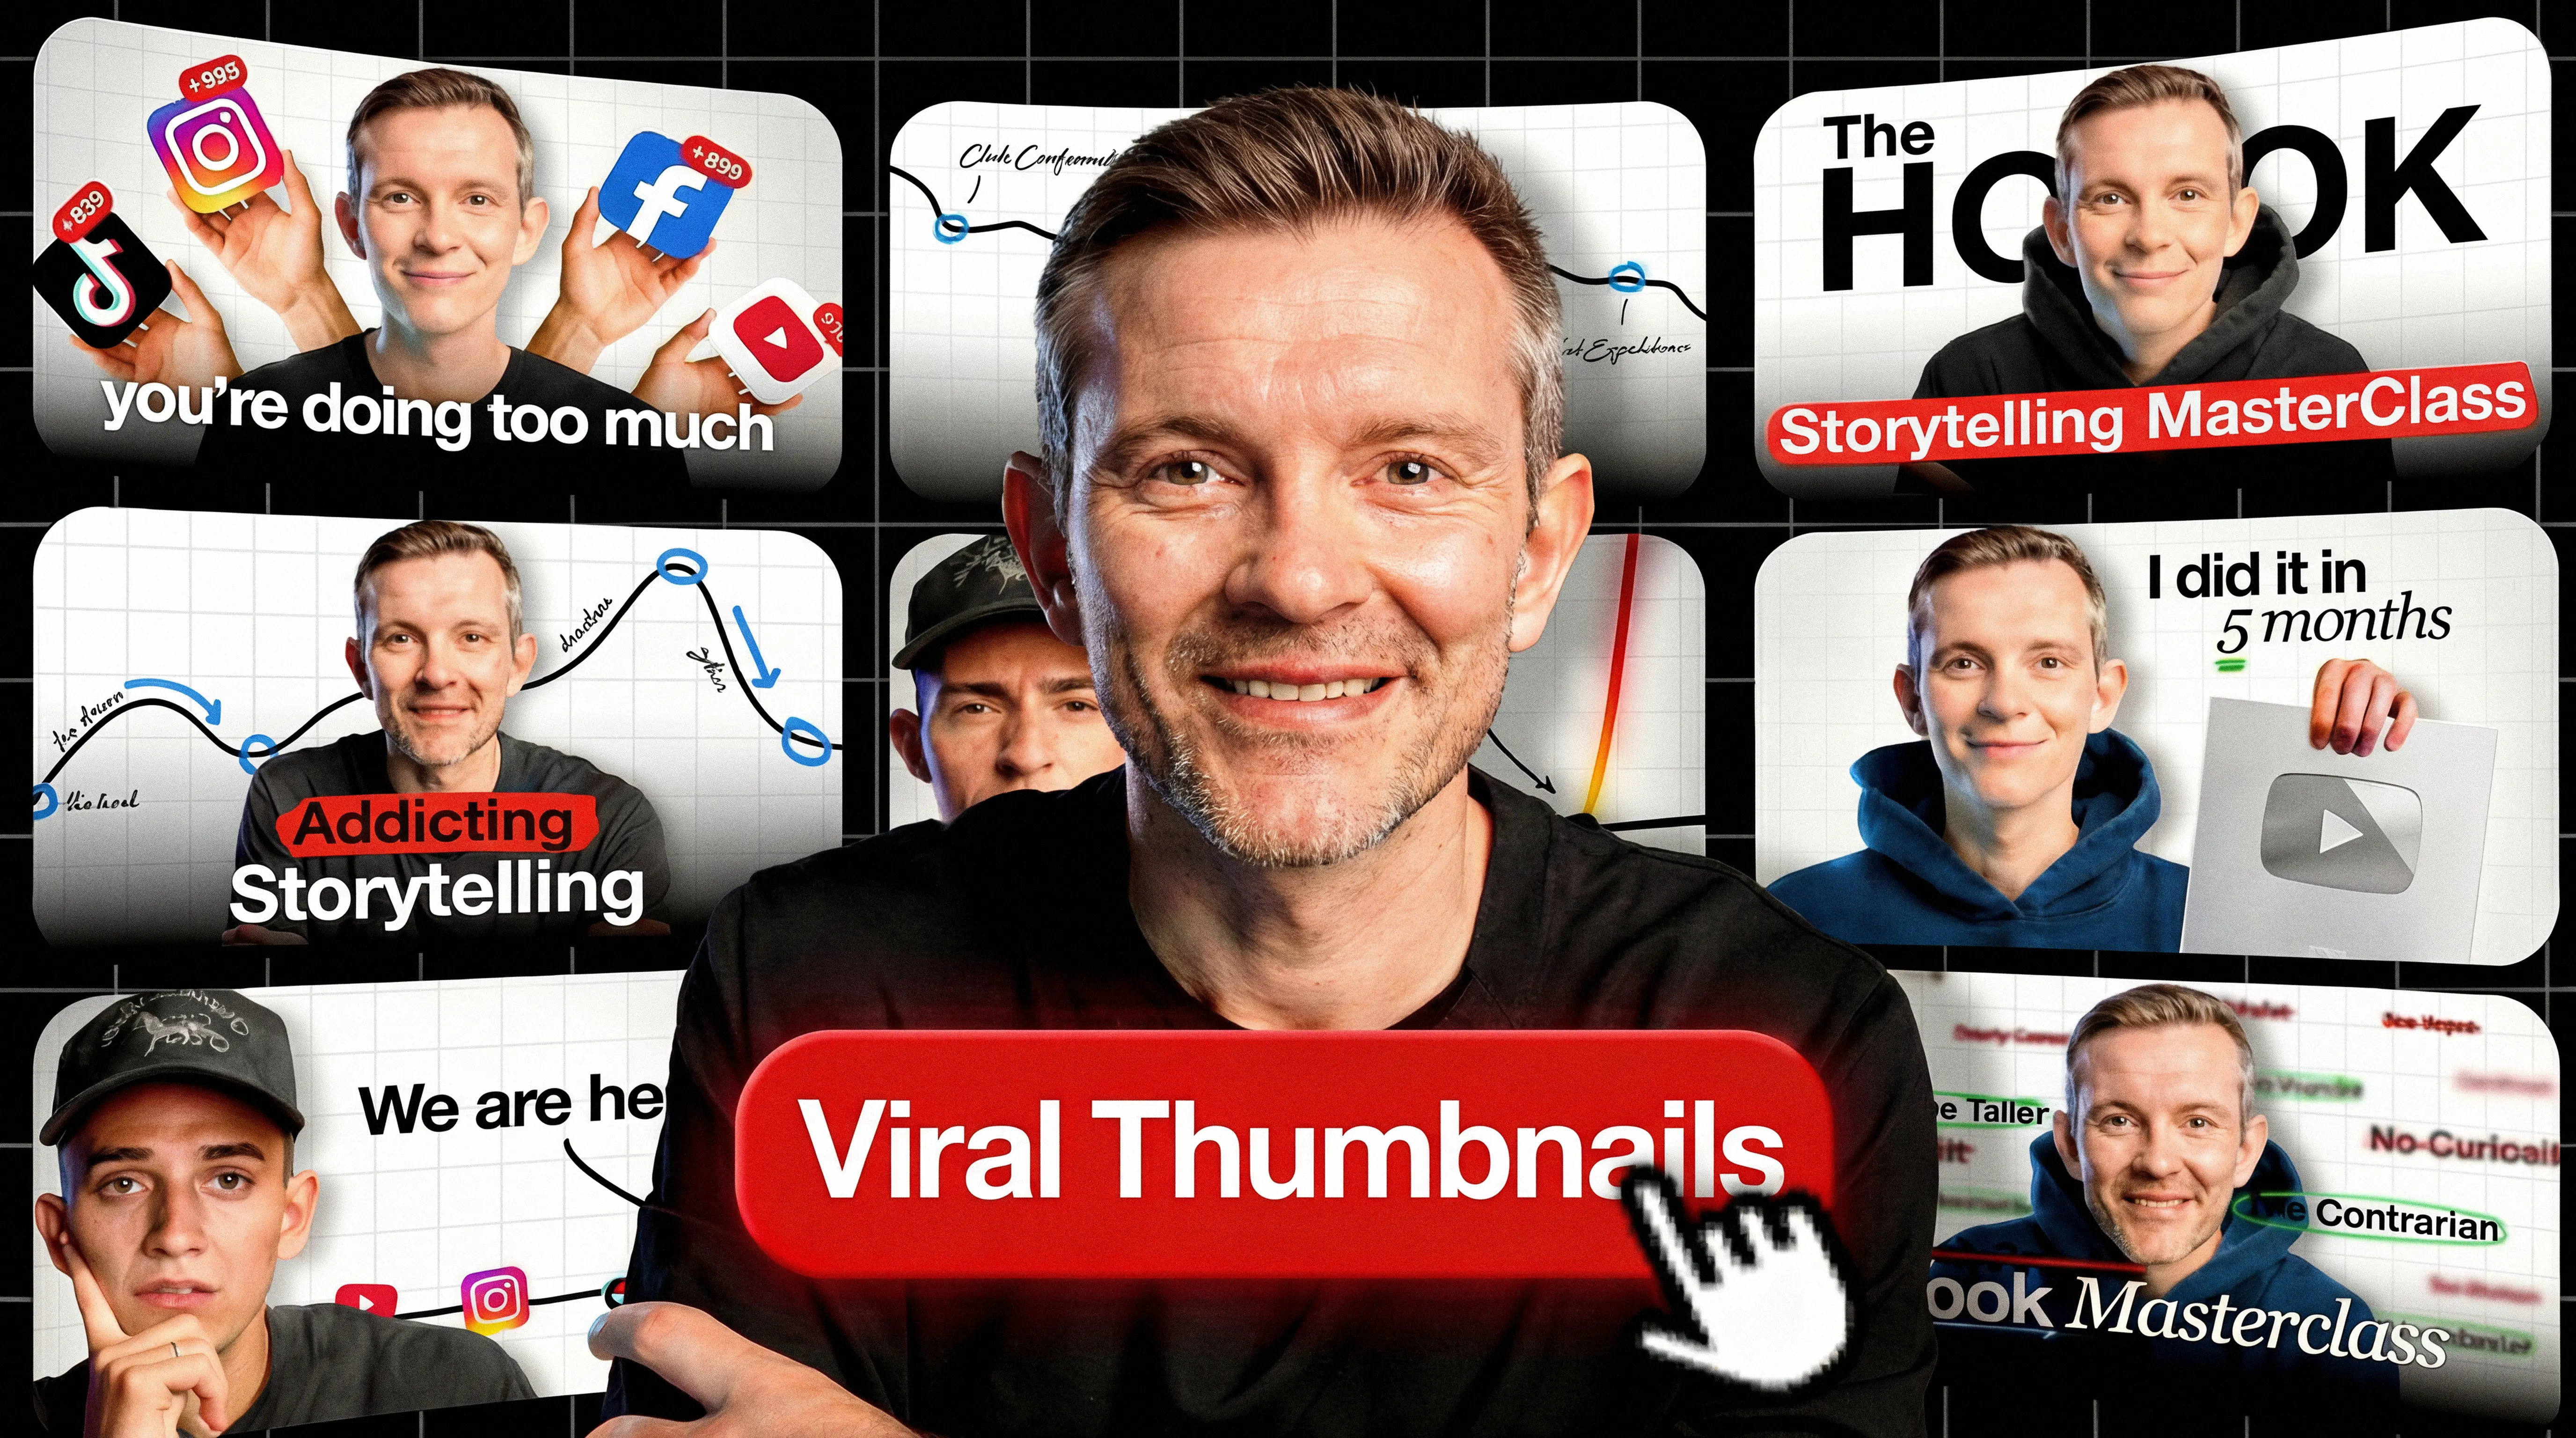
A custom YouTube thumbnail is the deciding factor between a click and a scroll. 90% of the best-performing videos on YouTube use custom thumbnails.
Not stock frames. Not auto-generated options.
This guide shows YouTube creators how to create thumbnails that earn clicks without misleading viewers.
Why custom thumbnails matter
Custom thumbnails transform random video frames into deliberate visual promises.
YouTube's auto-generated thumbnails pick frames algorithmically. These frames rarely capture the moment that would make someone stop scrolling or communicate what your video delivers.
With custom thumbnails, you control the first impression: the emotion, the text, the colors.
Caution: thumbnails attract clicks, but content creates retention. If your thumbnail oversells, viewers bounce. Misleading thumbnails perform worse over time.
Make thumbnails that accurately represent your content. Compelling, but honest.
YouTube thumbnail size and specs
Wrong dimensions mean cropping, low resolution means blur, and oversized files mean failed uploads. Here are the exact specs.
Technical specifications table
|
Specification
|
Required value
|
|
Resolution
|
1280 × 720 px
|
|
Minimum width
|
640 px
|
|
Aspect ratio
|
16:9
|
|
Maximum file size
|
Under 2 MB
|
|
File formats
|
JPG, PNG, GIF
|
|
Account status
|
Verified (required for custom thumbnails)
|
These specs apply to video thumbnails. Podcast playlist thumbnails use 1:1 aspect ratio at 1280x1280 pixels with a 10MB limit.
Handling file size limits
High-detail PNG files can exceed the 2MB limit, especially if your thumbnail has complex backgrounds or gradients. If your export fails or shows a file size error:
- Switch to JPG format: JPG compresses smaller than PNG for photo-heavy thumbnails with negligible quality loss
- Use a compression tool: TinyPNG or Squoosh reduce file size without visible loss
- Simplify the background: Solid colors or gradients compress better than detailed photos
- Check before uploading: Right-click your file > Properties (Windows) or Get Info (Mac) to verify size
Safe zones
Quick rule: Keep all text above the bottom 20% and away from the bottom-right corner.
Your thumbnail shares screen space with YouTube's interface. The duration badge covers the bottom-right; the title overlaps the bottom edge.
On mobile, the bottom 15-20% is often obscured.
Vertical video behavior
Vertical videos with 16:9 custom thumbnails will be replaced by an auto-generated 4:5 thumbnail on the home, explore, and subscription pages. Your custom thumbnail still appears on the watch feed, watch history, and non-mobile platforms.
How to make a YouTube thumbnail (step-by-step)
Creating a thumbnail takes 5-10 minutes once you know the workflow. Your first attempts will take longer. Below are four approaches: Canva (desktop), Adobe Express, mobile creation, and Shorts.
Step-by-step with Canva (free)
Prerequisites: A free Canva account and a video screenshot or photo ready to use.
- Navigate to canva.com and sign in
- Click "Create a design" and search for "YouTube Thumbnail"
- Select the template (pre-set to 1280×720) or start blank
- Add background: Click "Uploads" and drag your screenshot onto the canvas. Or use Canva's stock library.
- Remove background from subject: If using a photo of yourself, click the image and select "Edit image" > "Background remover"
- Add text: Click "Text" > "Add a heading." Keep to 3-5 words. Select a bold font like Bebas Neue or Impact.
- Apply drop shadow: Click the text, select "Effects," and enable "Shadow." Set color to black with 70-100% opacity.
- Check composition: Ensure no critical elements sit in the bottom-right (timestamp zone) or bottom edge (title zone).
- Export: Click "Share" > "Download" > PNG or JPG (keep under 2MB). Use PNG for text-heavy designs; use JPG if you hit the size limit.
- Upload to YouTube: YouTube Studio > Content > Select video > Pencil icon > "Upload thumbnail"
Note: Background remover requires Canva Pro. For free removal, use remove.bg or PhotoRoom first.
Pro tip: Duplicate pages to reuse your project. Add new pages for future videos to maintain consistency and speed up production.
Alternative: Adobe Express
If you prefer Adobe Express: Sign up free at express.adobe.com, select "YouTube Thumbnail," add your background, remove background from subject, add bold text with effects, export. If background removal is locked, use remove.bg first.
Mobile thumbnail creation
Mobile works. Full-time YouTubers with millions of subscribers produce thumbnails on their phones.
Optimal phone workflow:
- Shoot in 4K if you can for thumbnail extraction. Higher resolution means sharper frame captures.
- Take dedicated thumbnail photos instead of relying on video screenshots. Better lighting, angles, and expressions.
- Open Canva app and select "YouTube Thumbnail"
- Import your image and use the background remover feature (requires Canva Pro, or use remove.bg first)
- Add a blurred background to make your subject pop (blur slider in image adjustments)
- Increase sharpness slightly. Helps readability at small thumbnail sizes.
- Add bold text with drop shadow
- Export and upload via YouTube Studio mobile app
Both Canva and Adobe Express mobile apps match their desktop versions.
Shorts thumbnail limitations
You can't upload a custom thumbnail for Shorts like you can with long-form videos. Instead, you select a frame from your Short using the YouTube mobile app. This thumbnail appears in search results, hashtag/audio pivot pages, and your channel page. You can edit your selection after upload (in the app), but choosing during upload is the safest workflow.
Tip: If you don't see the frame selector in your current upload flow, try uploading from the YouTube mobile app and choose the best frame during upload.
Best thumbnail maker tools in 2026
Different tools suit different creators. The choice comes down to design experience, weekly volume, and budget. For AI-powered options, see our guide to the best AI thumbnail makers.
Tool comparison table
| Tool | Best Use Case | Price | Learning Time |
|---|
| Canva | General purpose, beginners | Free / Pro | 1 hour |
| Adobe Express | Template-heavy workflows | Free / Premium | 1 hour |
| ThumbMagic | Maximum speed, AI generation | Free trial | 10 minutes |
| Photoshop | Complete design control | Subscription | 10+ hours |
| Photopea | Photoshop features, free | Free | 5-10 hours |
| Pixlr | Simple browser editing | Free | 2-3 hours |
Canva works for most creators. Free covers essentials: templates, stock photos, text effects. Pro adds background removal and brand kits.
Adobe Express mirrors Canva with tighter Adobe ecosystem integration. The AI text-to-image feature generates backgrounds from descriptions.
Photoshop remains the professional standard. Unlimited control over every pixel. The investment is significant (monthly cost plus hours learning the interface). Most creators skip it when simpler tools exist.
Photopea provides free Photoshop-like functionality in a browser. Opens PSD files. Good for creators who know Photoshop but don't want to pay.
Cost analysis: Freelance designers charge $20-30 per thumbnail. At four uploads per week, that's $80-120 weekly. Learning Canva or Photopea pays for itself quickly.
Gaming thumbnail challenges
Gaming creators face unique obstacles. Most AAA titles now include photo modes, but older games and indie titles often lack HUD removal options, making clean captures difficult. Solutions:
- Press kits: Game publishers often provide high-resolution promotional assets
- Adobe Gen Fill: Can remove HUD elements from screenshots (requires Photoshop)
- Cutscenes: Pause during cutscenes when the HUD is hidden
- In-game options: Check graphics settings for HUD toggle or opacity sliders
- Character close-ups: Frame shots to minimize visible UI elements
AI thumbnail generators: how they work
AI generators create images from text descriptions or video analysis. Describe what you want; get multiple options in seconds.
ChatGPT image generation: ChatGPT generates thumbnails through its built-in image generation. Example prompt: "A gaming thumbnail showing a shocked face reacting to an explosion, red and orange color scheme, bold white text saying INSANE." Download and refine.
Canva Magic Media: Generates images from prompts with style options (anime, filmic, retrowave). Results work as backgrounds but need refinement for text and branding.
ThumbMagic: Analyzes your video and generates matching thumbnails. Enter a prompt or let it suggest options. Produces 4 variations in under 1 minute, designed for YouTube's format.
When AI works vs. manual
AI tools excel at:
- Speed (seconds vs. minutes)
- Generating multiple variations quickly
- Creating backgrounds and scene compositions
- Helping creators who lack design skills
Manual tools are better for:
- Precise brand consistency
- Complex compositions with multiple layers
- Using your actual face (not AI-generated)
- Specific style requirements
The common objection: "AI thumbnails look generic and clickbaity." This is fair. Raw AI outputs often look identical to thousands of others.
The solution: use AI as a starting point, then customize with your branding, real photos, and specific text. AI handles grunt work. Human judgment creates distinction.
Design tips for higher click-through rates
These principles separate scroll-past thumbnails from click-earners. For more tactical advice, see our YouTube thumbnail tips guide.
The 3-element rule
Limit your thumbnail to three visual elements: face, object, text.
Why three elements work:
- Viewers scroll quickly (less than one second of attention)
- More elements create visual confusion
- Three elements create a clear focal hierarchy
Example composition:
- Your face with an expressive emotion (surprise, excitement)
- One object representing the video topic (game controller, food item, product)
- 3-5 words of text providing context or curiosity
Resist the temptation to add more. Simplicity wins.
The rule of thirds
Borrowed from photography, the rule of thirds improves composition instantly. Use a 3×3 grid overlay and place your face, text, or key object near the intersections.
Position your face on one side, text on the opposite third. This creates balance.
Color psychology
Different colors trigger different responses:
| Color | Triggers | Best Niches |
|---|
| Red | Excitement, urgency, drama | Gaming, news, entertainment |
| Blue | Trust, expertise, calm | Tech, education, business |
| Yellow | Energy, optimism, attention | Lifestyle, vlogs, tutorials |
| Orange | Creativity, enthusiasm | Food, DIY, entertainment |
| Green | Growth, wealth, nature | Finance, outdoor, health |
Building a consistent palette: Choose one main color as your brand, then add black, white, and a middle gray. Add one highlight color for emphasis and change only the highlight between thumbnails to stay fresh but recognizable.
Contrast matters more than color choice. Yellow text on yellow background is invisible. White text with black drop shadow works on any background.
Font selection by niche
Your font choice signals your video's tone:
- Gaming: Heavy, aggressive fonts. Impact, Bebas Neue, Anton. Big, bold, unapologetic.
- Education/tutorials: Clean, legible fonts. Montserrat, Open Sans, Roboto. Professional trust.
- Lifestyle/vlogs: Friendly, modern fonts. Poppins, Quicksand. Occasional script accents for warmth.
- Business/finance: Conservative, serious fonts. Georgia, Inter, Arial. Credibility over personality.
Readability comes first. If text isn't readable at mobile size, increase size or simplify.
Text readability
Drop shadow is non-negotiable. Without it, text disappears into complex backgrounds.
Settings that work:
- Shadow color: Black
- Blur: 2-4 pixels
- Offset: 2-4 pixels
- Transparency: 70-100%
Test at actual YouTube size. Compare against other thumbnails in your feed. If text is hard to read, increase size or simplify the background.
Common thumbnail mistakes to avoid
These errors limit your video before anyone clicks play. What not to do matters as much as what works.
1. Excessive text. Stick to 3-5 words. Your title provides context. Your thumbnail creates intrigue and recognition.
2. Poor resolution. Blurry thumbnails suggest amateur content. Always start with images at 1280×720 or higher.
3. Too many elements. If your thumbnail takes more than one second to parse, simplify. One face, one object, 3-5 words.
4. Misleading representation. YouTube policy prohibits thumbnails that trick viewers. Beyond policy: viewers who feel deceived leave immediately, hurting your watch time.
5. Forgetting mobile. Most viewing happens on phones. Run the stamp test before uploading.
6. Ignoring safe zones. Timestamp badge covers bottom-right. Title text covers bottom edge. Keep critical elements in the center and upper areas.
7. No human presence. Faces can attract attention, especially in personality-led niches. For lesser-known creators, faces work best when paired with strong visual context rather than used as the sole element. Test with your audience.
8. Raw AI output. AI-generated thumbnails used without customization look identical to thousands of others. Add your face, your colors, your specific text.
9. Using copyrighted images. Saving random images from Google invites trouble: copyright strikes, thumbnail removal, channel penalties. Use royalty-free sources (Pexels, Unsplash, Canva's library).
How to test your thumbnails (A/B testing)
YouTube's Test & Compare lets you A/B test up to 3 thumbnails on the same video. Real data beats assumptions. For a complete walkthrough, see our guide on how to A/B test YouTube thumbnails.
Using Test & Compare
Eligibility: Desktop only through YouTube Studio. Requires advanced features enabled (phone verification + Community Guidelines adherence).
How to set up a test:
- Open YouTube Studio on desktop and select your video
- Click A/B Testing under the thumbnail or title
- Upload up to 3 thumbnails to test
- YouTube splits impressions between variants
- Test completes in ~2 weeks; YouTube then shows the variant with the highest watch time to all viewers (reported as watch time share)
Watch time (reported as watch time share) determines the winner
YouTube selects the winner based on watch time, and reports performance using watch time share.
This is intentional. A thumbnail that generates high clicks but misleads viewers causes rapid abandonment. The click-through rate looks good, but the watch time suffers.
YouTube considers this a poor outcome.
A thumbnail that generates moderate clicks but accurately represents content keeps viewers watching. The click-through rate is lower, but the watch time is higher. YouTube prefers this outcome.
YouTube's explanation: "Great titles and thumbnails serve an important purpose beyond getting viewers to click. They help a viewer understand what the video is about so that they don't waste their time clicking on the wrong videos."
What is a good click-through rate?
CTR benchmarks:
- Typical range: 2-10% across most channels
- Entertainment/gaming: Often higher (5-10%+) due to strong subscriber engagement and emotional hooks
- Education/tutorial: Often lower (2-5%) but with longer watch time
- Your goal: Improve on YOUR channel's average, not chase global stats
CTR varies significantly by video type, audience source (search vs. browse vs. suggested), and topic. A 3% CTR on a search-driven tutorial may outperform a 7% CTR on a browse-driven video that viewers abandon quickly.
Track CTR in YouTube Studio > Analytics > Reach tab. Focus on trends over time rather than single-video comparisons.
What you cannot A/B test
You can't test Shorts, Scheduled Lives, or videos that are private / made for kids / mature audiences. Premieres aren't eligible while they're live, but become eligible once the Premiere ends and the video becomes standard long-form.
Third-party testing tools
TubeBuddy and vidIQ offer additional A/B testing and thumbnail analytics. Both provide more granular data than YouTube's native tools, including CTR comparisons.
FAQ
What size should a YouTube thumbnail be?
1280 x 720 pixels with a 16:9 aspect ratio, maximum 2MB file size. Accepted formats are JPG, GIF, or PNG. PNG maintains quality best for images with text.
What do most people use to make thumbnails?
Canva is most popular due to its free tier, templates, and background removal. Professionals prefer Photoshop. AI thumbnail tools are growing among speed-focused creators.
Can I use my phone to make thumbnails?
Yes. Canva's mobile app matches desktop, and Adobe Express and YouTube Studio also work on mobile. Shooting at 4K/60fps provides more frame choices for thumbnail extraction.
Can ChatGPT (AI) make thumbnails?
Yes. ChatGPT can generate thumbnail-style images using its built-in image generation when you describe what you want. Other AI options include Canva Magic Media and ThumbMagic, but best practice is to use AI for the base image and add your real face and branding manually.
What are common thumbnail mistakes?
Text overload (more than 3 words), low resolution images, cluttered compositions, misleading imagery, ignoring mobile preview size, placing elements in the timestamp zone, omitting faces/emotion, using raw AI outputs without customization, and using copyrighted images without proper licensing.
Should I include my face in thumbnails?
For most content, yes. Faces attract attention and build connection, with expressive faces (surprise, excitement, concern) outperforming neutral expressions. Exception: purely informational content where faces feel forced.
How do I know if my thumbnail is good?
Check CTR in YouTube Analytics (Studio > Analytics > Reach), where typical range is 2-10% depending on niche. Use Test & Compare to A/B test alternatives and compare against competitors at actual display size.
Can I change my thumbnail after uploading?
Yes, for standard videos. Navigate to YouTube Studio > Content > Select video > Edit thumbnail.
Key takeaways
- Match the specs: 1280×720 pixels, 16:9 ratio, under 2MB. Deviation causes display problems.
- Keep it simple: Face + object + 3-5 words. More elements create confusion.
- Test with intention: YouTube's Test & Compare optimizes for watch time, not clicks. Accurate thumbnails outperform misleading ones.
- Use AI strategically: Generate backgrounds with AI. Add your real face and branding manually.
- Run the stamp test: Shrink to ~120px wide before uploading. If text isn't readable, simplify.
- Consider the cost: Designers charge $20-30 per thumbnail. At 4 uploads/week, that's $80-120 weekly. Learning Canva pays off fast.